When To Replace Windows (7 Signs You Can’t Ignore)
Windows are one of those things that don’t always get the attention they deserve. You probably don’t think twice about them until something starts going wrong.
But over the years, they can start showing signs of wear and tear that you can’t afford to ignore.
So, how do you know when it’s time to replace them instead of just repairing them?
In this post, I’ll go over 7 clear signs that it’s time to replace your windows.
#1 Your Windows Have Visible Damage
This one’s pretty obvious, but it’s worth mentioning.
If your windows have cracks, chips, or broken glass, that’s a clear sign they need to go.
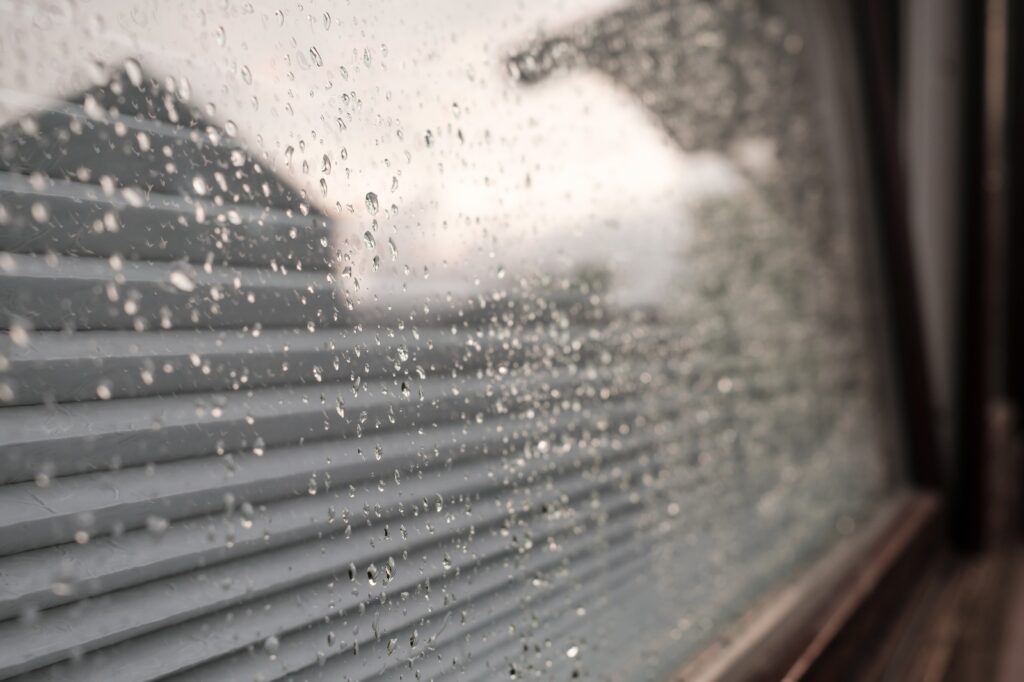
Any visible damage like that can compromise the integrity of the window, and, in the worst case, make your home less secure. Plus, if your windows are letting in moisture, it can lead to mold or mildew problems.
Not something you want to deal with, right?
Even small cracks can get bigger over time. If you spot any damage, don’t wait to get it checked out. It’s better to replace the window than to let it get worse.
Also check out our Minnesota Window Replacement Services
#2 Your Windows Are Hard To Open Or Close
If opening or closing your windows feels like a workout, that’s another sign to replace windows.
Sticking, jamming, or refusing to stay open usually means the frames are warped, the hardware is failing, or years of wear and tear have caught up. Either way, it’s a good sign that your windows need attention.
Windows should glide smoothly, not require a battle every time you need some fresh air.
Besides being annoying, stuck windows can be a safety issue – imagine needing to escape in an emergency and your window won’t budge.
#3 Your Windows Have Rotting Frames
Wooden window frames are gorgeous, but they come with one big problem: rot.
If you see your window frame beginning to rot or if it feels soft to the touch, that’s a serious red flag. Rot is caused by moisture getting into the wood over time, and it can spread quickly.
If not addressed, it could lead to structural damage and even cause mold to develop.
The good news is that, in some cases, you might be able to replace just the frame rather than the whole window. But if the rot is widespread, it’s best to just replace the whole thing.
The cost of dealing with the rot now is way less than the repairs you might face later on.
Also Read: Who To Call For Leaking Windows?
#4 Your Windows Are Old
Windows don’t last forever. If you have windows that are 20, 30, or even 40 years old, it might be time to say goodbye to them.
Older windows weren’t made with the same energy efficiency standards as modern ones. They’re often single-paned, which means they don’t do a great job of keeping the outside weather where it belongs – outside.
Newer windows keep your home insulated, which can save you a ton on your energy bills.
Not to mention, old windows can be drafty and noisy. They can also be harder to maintain and more prone to problems.
So, if you’re living with old windows, think about upgrading to something more efficient.
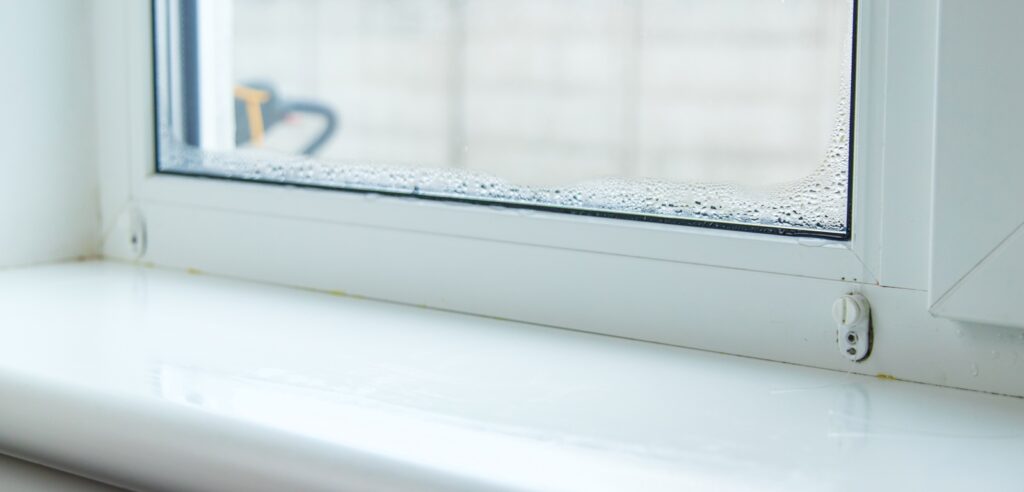
#5 You Feel Drafts
If you’re feeling a draft around your windows, it’s a sign that air is slipping through.
You should never feel a chill coming through your window, especially if you’re heating or cooling your home.
A draft can happen for a couple of reasons: maybe the window seal is broken, or the frame is warped. Either way, it means air is sneaking in (or out) when it shouldn’t be.
If you can feel the cold air sneaking in through your windows, it’s time to replace them.
You could also test your windows by holding a candle or lighter near the frame on a windy day—if the flame flickers or moves, it’s time for new windows.
Also Read: Gap Between Window And Frame
#6 Your Energy Bills Are Rising With No Other Explanation
Have you noticed a sudden spike in your energy bills, but can’t figure out why?
It could be your windows. As windows age, they lose their ability to insulate your home, meaning your heating and cooling systems have to work harder to keep the temperature consistent.
This causes your energy usage to go up, which means higher bills.
If you’ve checked everything else and there’s no other obvious explanation, your windows could be the culprit.
In cases like this, replacing them with energy-efficient windows can help lower those bills and make your home a lot more comfortable year-round.
#7 Outside Noise Is Getting Worse
If you’ve noticed that the sounds from outside are getting louder inside your home, that’s another sign it might be time to replace your windows.
Older windows often don’t have the same level of soundproofing that newer ones do.
If you live in a noisy area, like near a busy street or an airport, or you’re just tired of hearing everything going on outside, upgrading to soundproof windows could be a good decision.
Modern windows are designed to block out noise a lot better.
They’re made with improved insulation and thicker glass that can dampen sound, and help keep your home quieter and more peaceful.
Also Read: How much does siding cost in Minnesota?
#8 You’re Looking To Increase Your Home Value
Maybe you’re not dealing with major issues, but you want to boost your home’s value.
New windows are a great way to do that!
If you’re planning to sell your home or just want to invest in something that will improve its overall appeal, replacing your windows is a smart move.
New, modern windows can make your home look more attractive, and potential buyers will appreciate the fact that they won’t need to worry about window repairs or replacements for a long time.
Plus, energy-efficient windows are a big selling point.
Buyers are more conscious about long-term costs, so energy-efficient windows can give your home an edge over others on the market.
Bottom Line
If your windows are damaged, hard to operate, drafty, or just plain old, it might be time to replace them.
It can seem like a big task, but the benefits are totally worth it. Not only will your home be more comfortable, but you could save money on your bills and even increase your home’s value.
If you’ve noticed any of these signs, it’s definitely worth having a professional come out and assess the situation.