How Much Does It Cost To Replace A Roof In Minnesota?
If you’re reading this, chances are you’ve been staring at your roof lately and thinking, “Hmm, maybe it’s time.” Or worse, you’ve already spotted some leaks or missing shingles.
Either way, replacing a roof is a big deal. Not just because it’s a huge chunk of your house, but also because it can be pretty expensive.
In this post, we’ll break down our roof replacement costs in Minnesota.
Plus, we’ll also go over how much it costs to replace a roof on average, and the main factors that affect the total cost, so you can get a better idea of what to expect.
Our Minnesota Roof Replacement Prices
Our roof replacements cost around $15,000 to $30,000 for an average-sized home. The price depends on the size of your roof, how complex the job is, and what materials you choose.
Here’s what’s included in the installation:
- Tearing off and hauling away the old roof
- Checking for damage and making any necessary repairs to the roof deck
- Installing a high-quality underlayment for extra protection
- Putting on new shingles or other roofing materials of your choice
- Adding proper flashing and ventilation to make your roof last longer
- A full cleanup when we’re done
We install strong, long-lasting roofs that can handle Minnesota’s tough weather.
Contact us for a FREE quote, and we’ll give you a clear price based on your roof.
Also Check Out Our: Twin Cities Roof Replacements Services
How Much Does Roof Replacement Cost?
Roof replacement costs about $6000 – $30000 in Minnesota.
Generally speaking, about 40% of the cost is for materials, and the other 60% goes to labor. So, the size of your roof and what kind of material you go with will have the biggest impact on price.

Here’s a rough idea based on roof size:
- 1,000 sq. ft.: $4,500 to $11,000
- 1,500 sq. ft.: $7,000 to $15,000
- 2,000 sq. ft.: $9,000 to $22,000
- 2,500 sq. ft.: $11,000 to $27,000
These are just ballpark figures, as the exact price will depend on a number of things which we’ll go over shortly. To get an exact estimate, it’s always best to get a few quotes from local contractors.
Factors That Affect The Cost Of Roof Replacements
There are a lot of factors that can influence the total price. Some of these are pretty straightforward, while others are a bit more unexpected.
Here are the main factors that affect the cost of replacing a roof in Minnesota:
#1 Roof Size
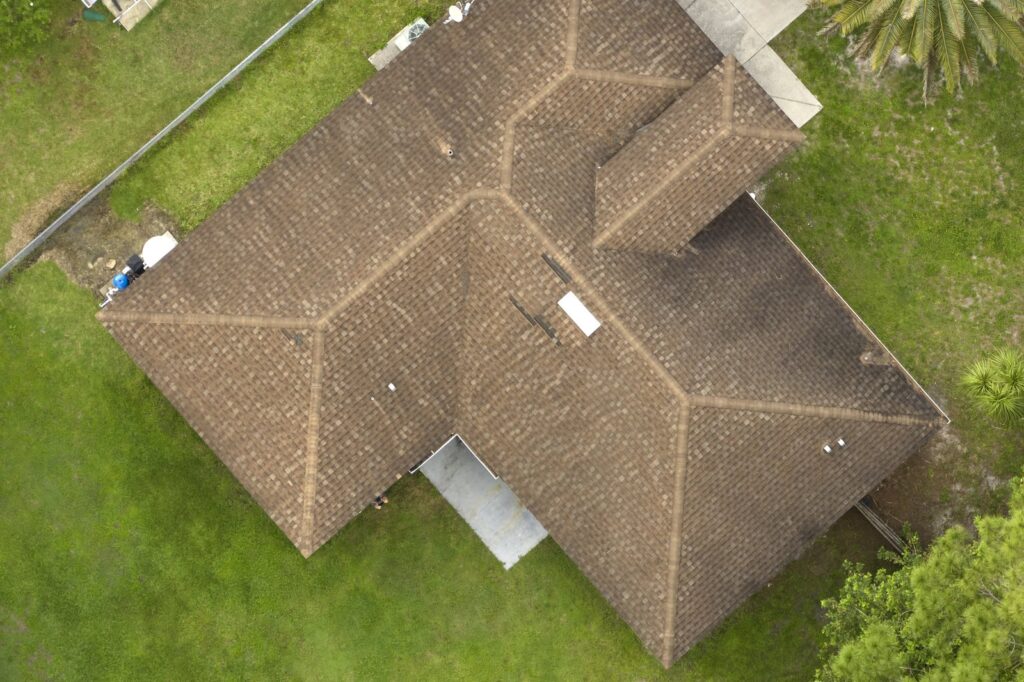
This one’s pretty obvious: the bigger the roof, the higher the cost.
If you have a large home, you’re going to need more materials, and the labor cost will also go up because it’ll take longer to do the job. Smaller homes will obviously cost less.
Also Read: How Much Does A Roof Inspection Cost?
#2 Roof Pitch
Ever noticed how some roofs are almost flat while others are super steep? That’s the pitch—and it matters a lot for pricing.
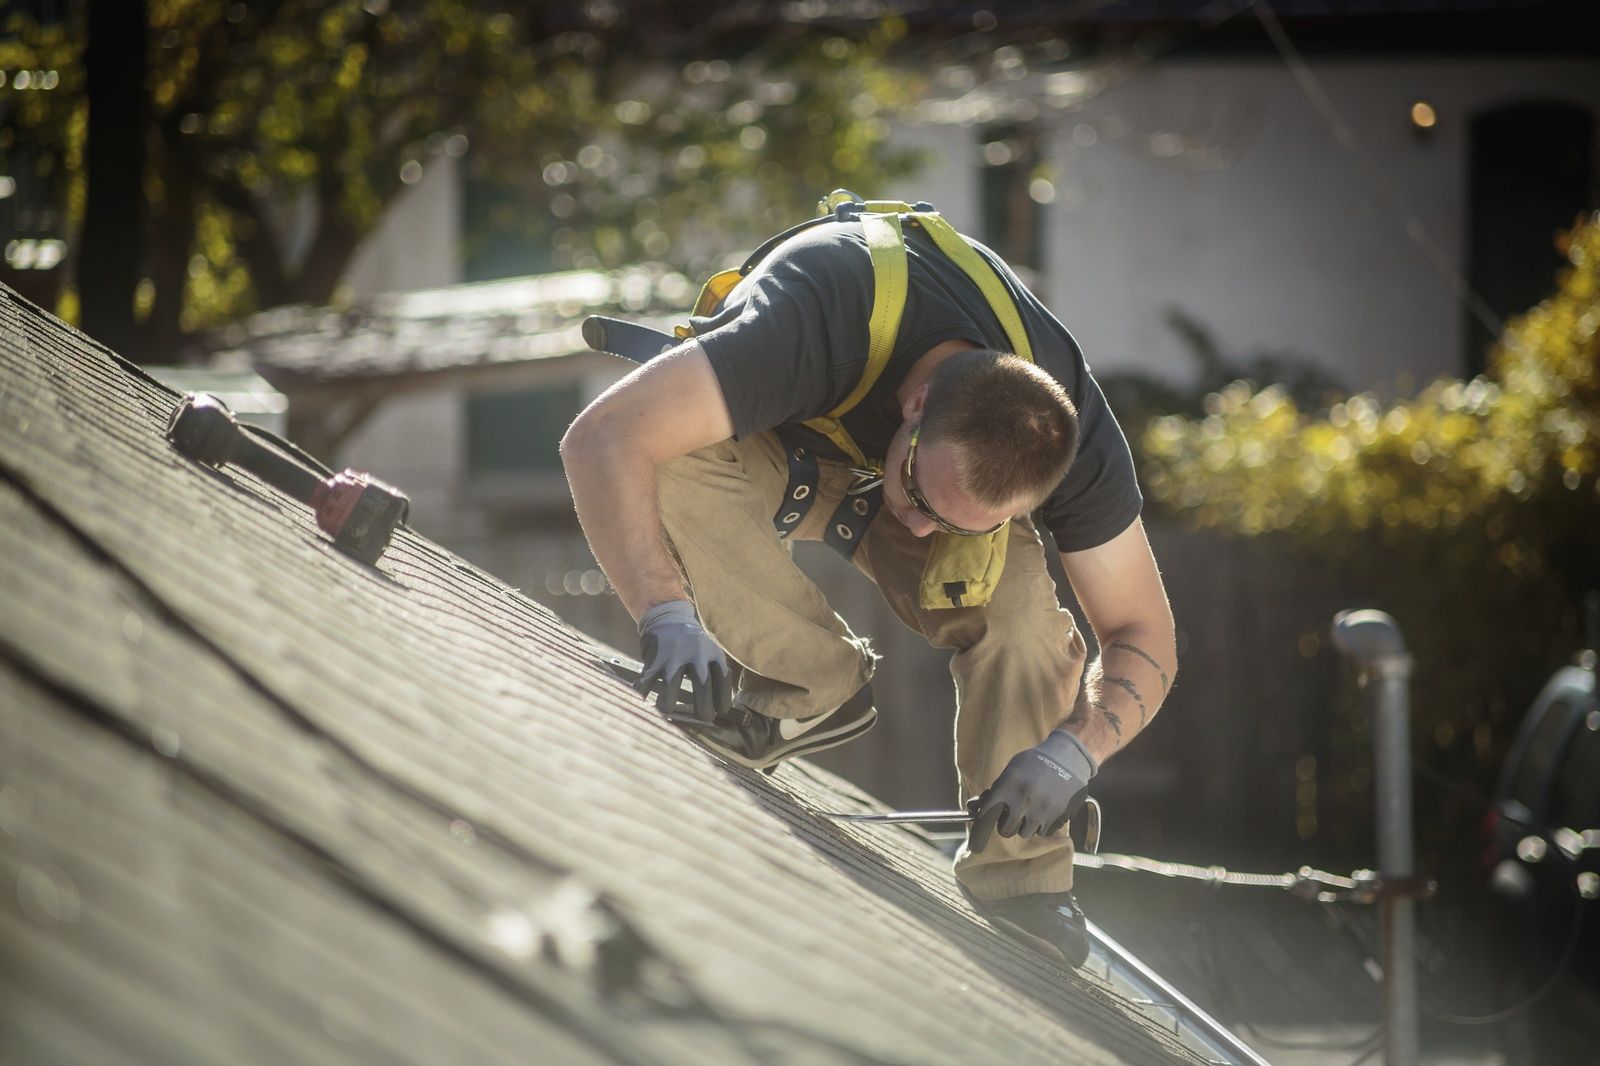
Steep roofs are harder to work on. They require extra safety equipment, more labor, and often take longer to complete. A roof with a pitch greater than 7:12 (meaning it rises 7 inches for every 12 horizontal inches) might cost 25-30% more than a gentler slope.
So, the steeper the roof, the higher the labor cost.
Many homes in Minnesota have steeper pitches to help shed snow, so this is something to keep in mind when budgeting.
#3 Roof Material
The material you choose for your new roof has a huge effect on your roof replacement cost.
Here’s a quick rundown of the most common options in Minnesota:
- Asphalt shingles: $3.50-$8.50 per square foot installed. The most popular choice due to affordability and decent lifespan (15-30 years).
- Metal roofing: $6.00 – $35.00 per square foot installed. Lasts 40-70 years and stands up great to Minnesota snow.
- Cedar shakes: $6 – $15.00 per square foot installed. Beautiful but requires more maintenance.
If you decide to go with a more premium material, like slate or tile, it can cost around $15-$30 per square foot, but it can last a long time (75+ years!), and it looks really good!

Also Read: 1/2 Or 5/8 Roof Sheathing?
#4 Removing The Old Roof
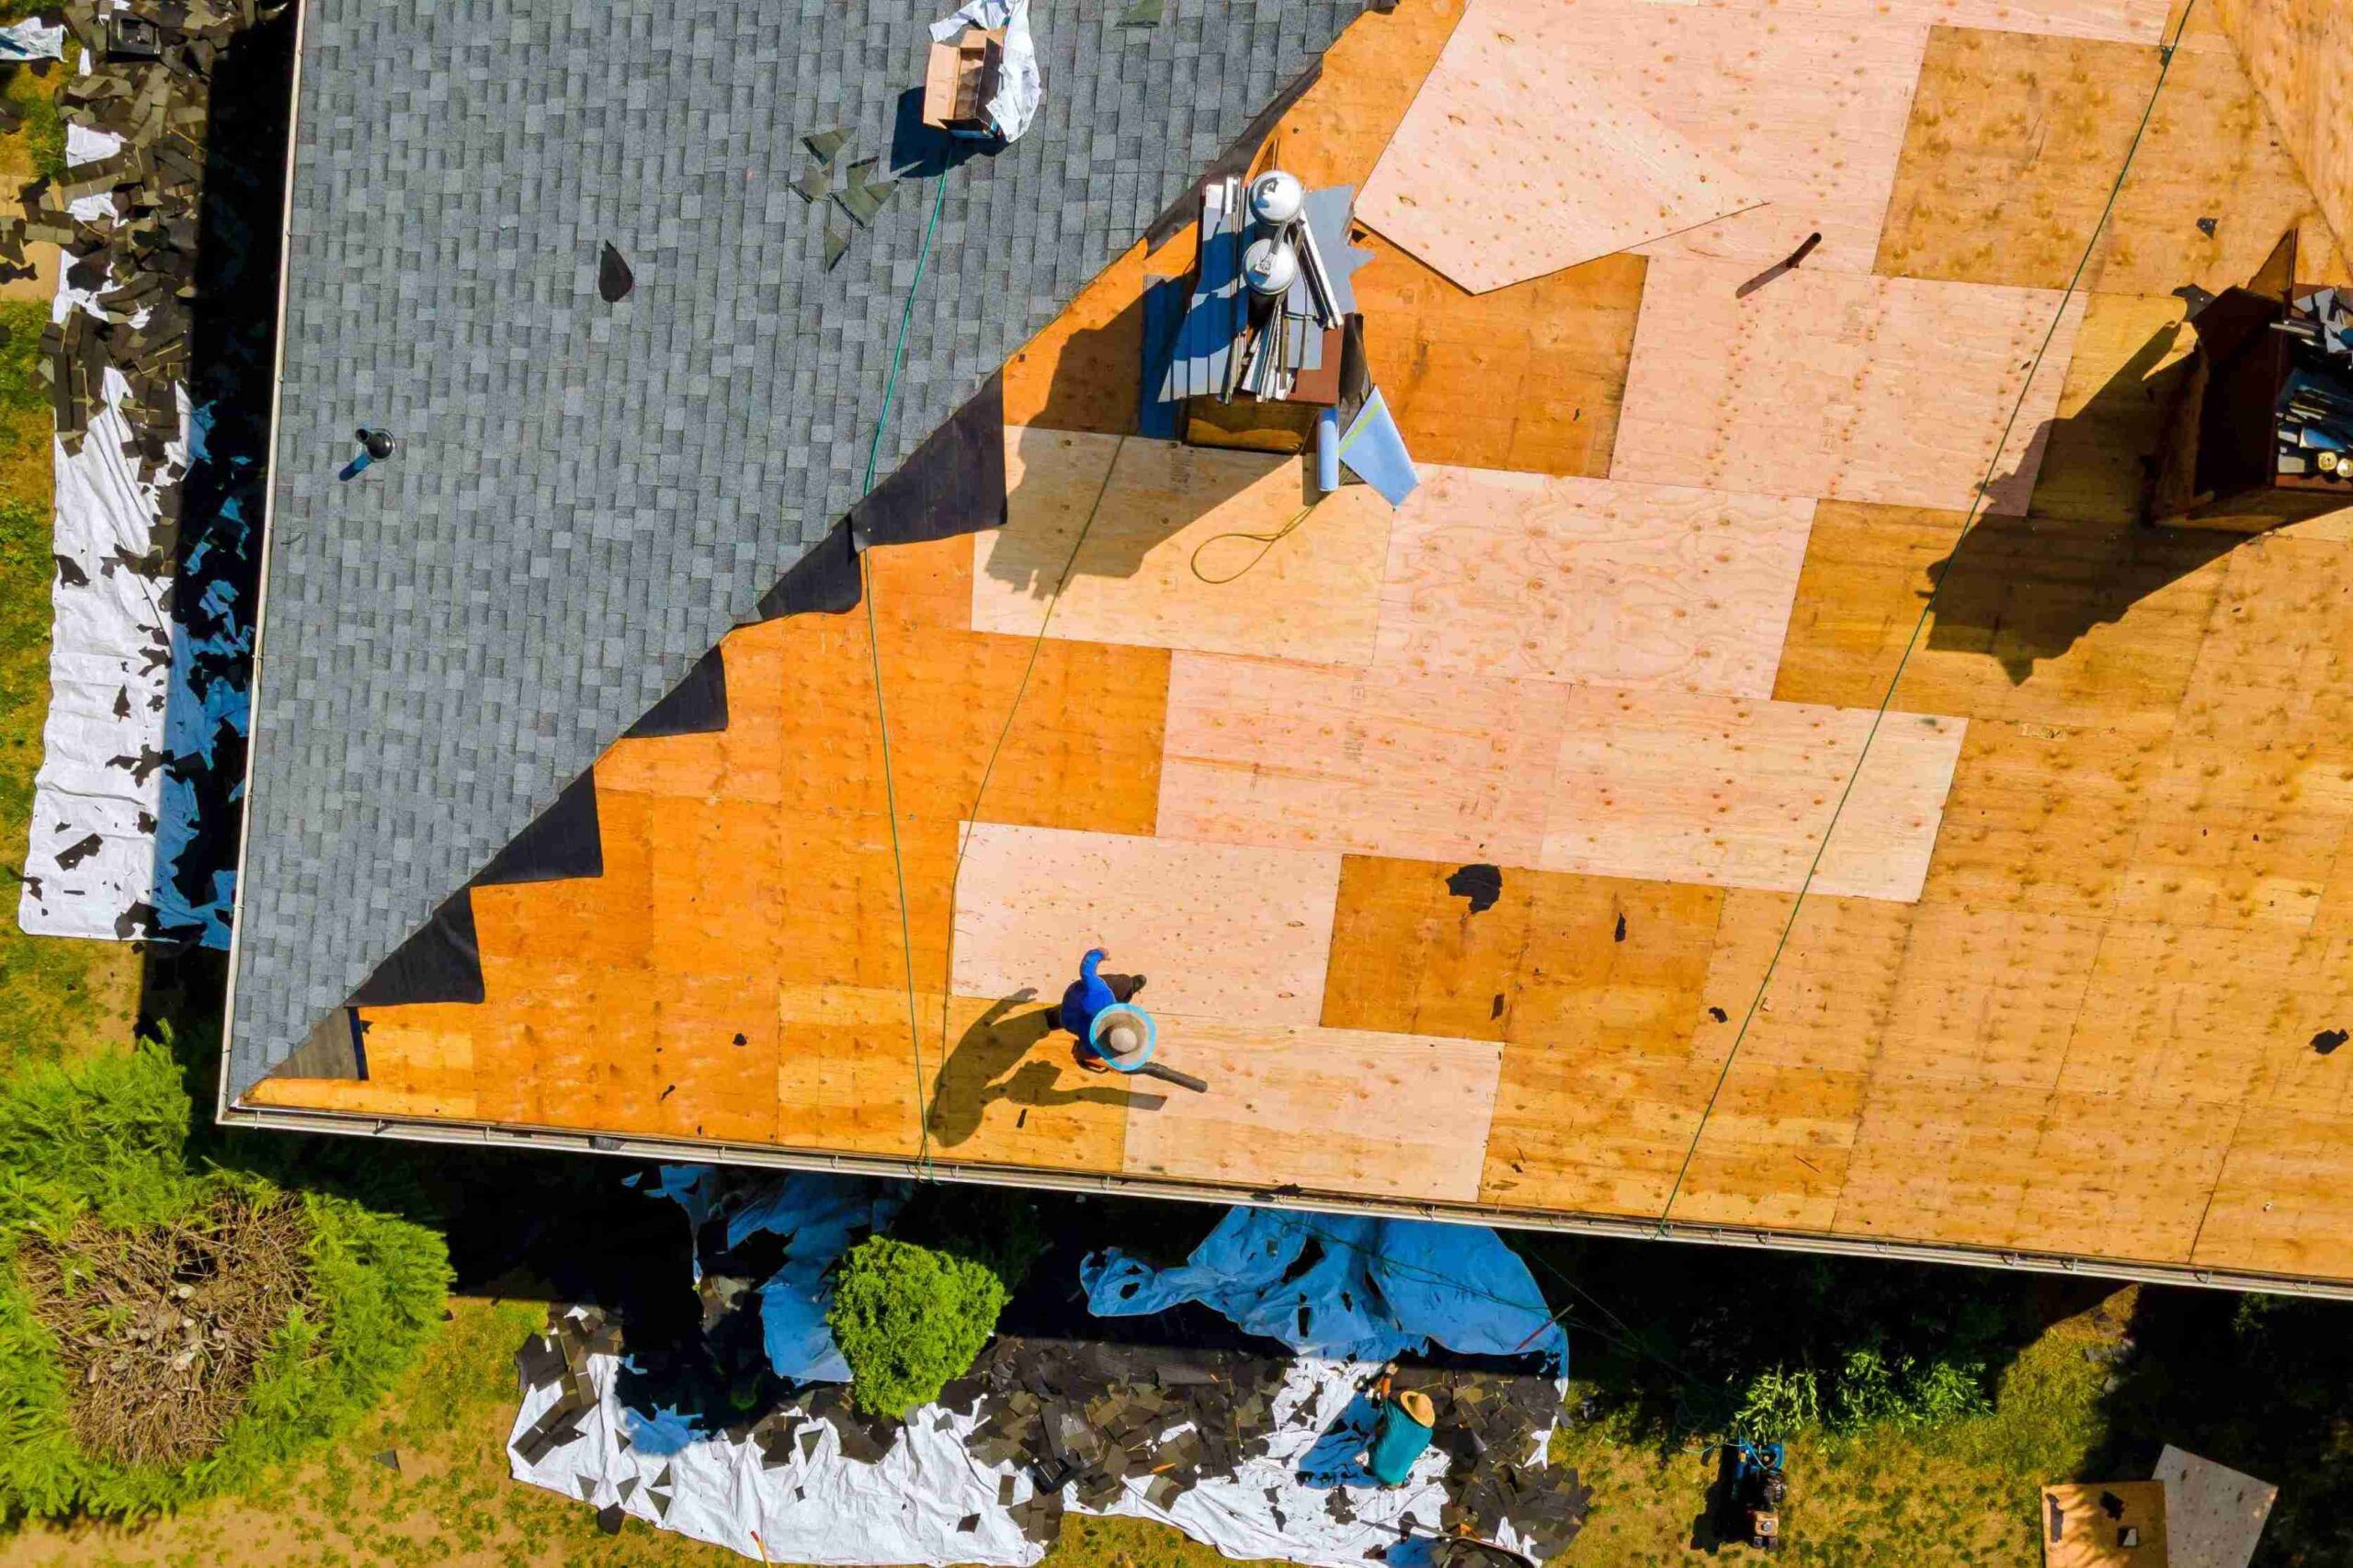
You’ll probably need to have the old roof torn off before the new one can go up. And tearing off and disposing of your existing roof isn’t free.
Expect to pay $1-$2 per square foot just for removal.
Multiple layers will cost more. Some homes in Minnesota have had layer upon layer added over the decades to avoid complete replacements—we’ve seen homes with three or four layers that cost significantly more to tear off.
The disposal costs add up too. Dumpster rental and landfill fees usually run $500 – $1,000 depending on roof size and material.
Ask your contractor if removal is included in the price or if it’s an additional charge.
Some roofing companies might offer “tear-off” as part of the initial price, while others will add it as a separate cost.
#5 Roof Underlayment
Underlayment is the layer of material placed under your roof shingles that acts as a barrier against water and weather.
There are a few different types of underlayment materials, and the cost of the material can affect how much it costs to replace a roof in Minnesota too.
Standard felt underlayment costs around $0.20 per square foot, but synthetic or ice-and-water shield (crucial for Minnesota eaves) runs $0.50-$0.80 per square foot.
Many Minnesota roofers now recommend ice-and-water shields on the entire roof too.
That adds cost but provides amazing protection against ice dams—a notorious Minnesota roofing problem.
#6 Roof Features
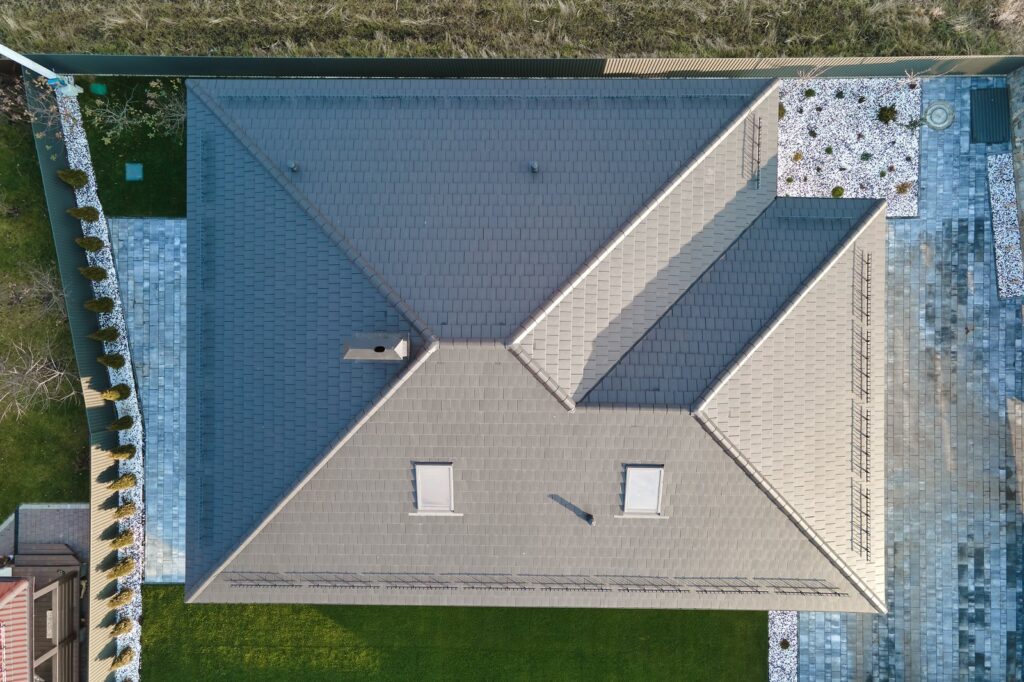
If your roof has extra features—like skylights, chimneys, or vents—be prepared for those to add to the overall price.
These features require more work and special handling, especially if they need to be replaced or repaired during the roof replacement process.
Skylights, for example, require careful sealing and flashing to prevent leaks, which takes extra time and expertise. The same goes for chimneys or roof vents, which often need to be detached and reattached.
These extra steps will naturally increase the price of the roof replacement.
#7 Accessibility
How easy (or difficult) is it to get to your roof? If you live in a two-story home or your roof is hard to access because of trees, power lines, or other obstacles, the labor costs will likely be higher.
Roofers will need to take extra precautions, and in some cases, may need special equipment like scaffolding or ladders to complete the job.
The more difficult it is to access, the more the job will cost.
#8 Location
Minnesota might be one big state, but prices can vary depending on where you live.
If you’re in a big city like Minneapolis or St. Paul, the cost of roof replacement might be a little higher. Cities tend to have more competition and higher living costs, which can increase the overall cost of services.
On the other hand, if you’re in a more rural area, you might find lower prices.
But you could also have fewer contractors to choose from, which might affect availability or the range of materials offered (though this can flip if the contractor has to travel far).
Also Read: When To Replace Windows
#9 Permits And Inspections
Don’t forget the paperwork! Most Minnesota municipalities require permits for roof replacement.
Permits generally cost anywhere from $50 to $300, depending on your location and the type of work being done. You might also have to schedule an inspection once the job is finished, which could add additional fees.
Make sure you check with your contractor and local authorities about the specific permit requirements for your area.
If permits are required, they will be an additional cost to factor into your overall budget.
Bottom Line
It costs around $6000 – $30,000 to replace a roof in Minnesota.
Replacing a roof isn’t cheap, but it doesn’t have to break the bank either. Knowing what affects the cost can help you plan and budget better.
Start by getting quotes from a few different contractors. Ask questions, compare materials, and don’t be afraid to negotiate. And remember, the cheapest option isn’t always the best.
You want a roof that’ll last, especially in a place with four distinct seasons like Minnesota.

