Can You Paint Hardie Board? (Yes – Here’s How)
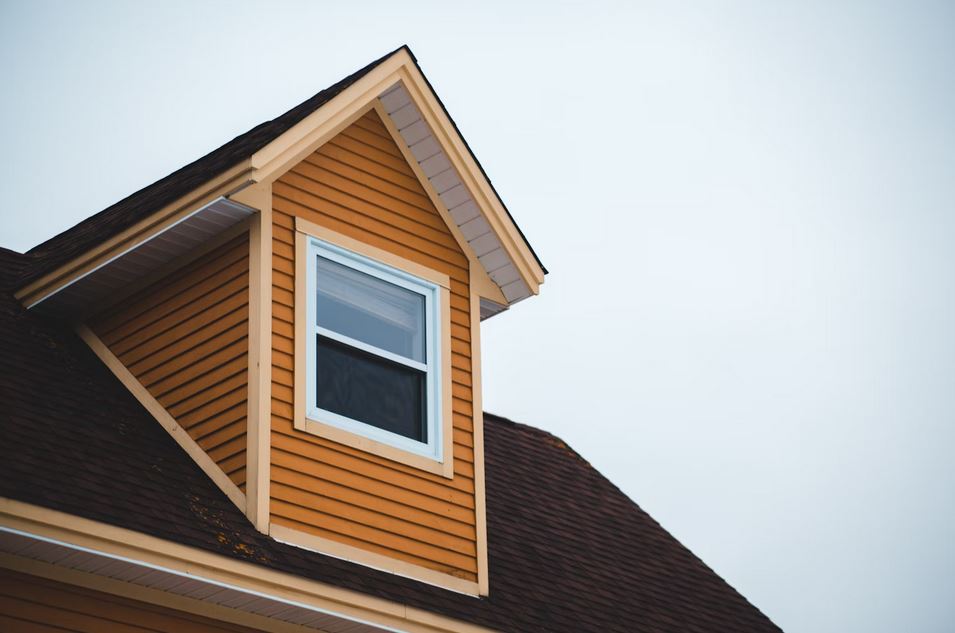
Hardie board siding is built to last, which is why so many homeowners love it.
But just because it’s tough doesn’t mean you’re stuck with the color it came in. You can absolutely paint Hardie board, and when it’s done right, the finish looks gorgeous and holds up for years.
It’s one of those projects that feels a little intimidating at first, but once you know the right steps, it’s actually super straightforward.
In this post, we’ll show you how to paint Hardie board without headaches or wasted time.
Can You Paint Hardie Board?
Yes, you can paint Haride boards.
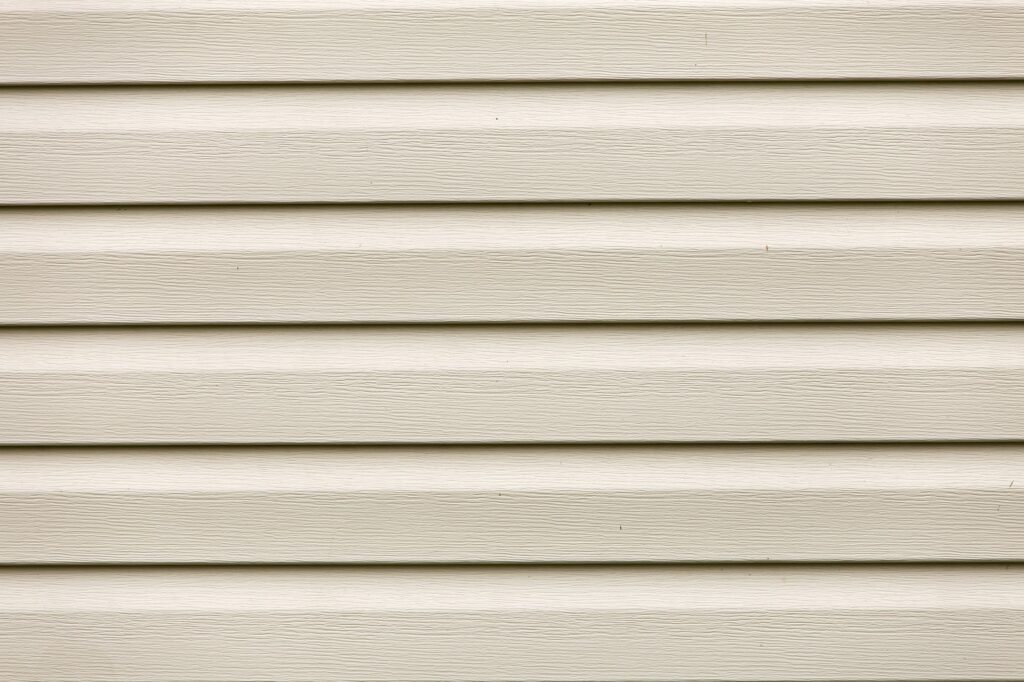
Hardie board is designed to take paint well. In fact, most boards come pre-primed from the factory, which makes the painting process easier.
And even if your siding has been up for a while, you can freshen it up with a new color whenever you’re ready.
One thing to keep in mind is prep. The paint only sticks as well as the surface allows, so cleaning, repairing, and priming (if needed) are super important.
Once the prep work is handled, Hardie board actually holds paint much better than some other siding materials, like wood, which can peel or warp. Done properly, you’re looking at a paint job that lasts 8 – 12 years or more.
Also Read: 8 Reasons Why James Hardie Siding Is Worth It
What Kind Of Paint Works Best?
The best option for Hardie Board is 100% acrylic latex exterior paint.
This type bonds tightly to the siding, resists cracking, and handles sun, rain, and temperature swings like a champ.
Oil-based paints? Skip them. They don’t adhere well to fiber cement and can actually shorten the life of your paint job. Stick to acrylic latex for a smooth, durable finish.
For sheen, satin or semi-gloss are popular choices.
Satin gives you a subtle look that hides imperfections but still cleans easily. Semi-gloss is shinier and reflects more light, which makes it easier to wash but also highlights flaws.
Either way, you’ll end up with a finish that looks fresh and sharp.
How To Paint Hardie Board
Here’s the fun part: actually getting paint on the boards. But before you dip that brush, make sure you move through the steps in order:
#1 Clean The Surface
If your Hardie board has a layer of dirt, dust, or mildew on it, the paint won’t stick.
A quick rinse with a garden hose often does the job, but for tougher spots, a gentle pressure wash or a scrub with a soft brush and mild detergent works best.
Don’t go too heavy with the pressure washer, though – you don’t want to damage the siding.
Once you’ve rinsed everything down, give it time to dry completely, since painting over even slightly damp boards can trap moisture and lead to peeling later on.
Also Read: Caulk Cracking Around Windows
2 Repair Cracks Or Gaps, Then Caulk
Take a good look around your siding after it’s clean. Small cracks, holes, or gaps may not seem like a big deal now, but they’ll show through once the paint goes on.
Patch these areas so the finish looks seamless.
Run a smooth bead of high-quality exterior caulk around windows, doors, trim, and joints.
This doesn’t just make things look better but it also helps seal out water and pests. Let the caulk cure according to the instructions before you move on.
#3 Prime
If your boards came factory-primed, you can usually skip this step for the full surface.
If your siding isn’t primed, a coat of acrylic primer is essential. It creates a sticky base for your paint and helps ensure even color.
Any spots you repaired or caulked should also be primed, even if the rest of the siding was already done at the factory.
Primer is the bonding agent that ties everything together so your final coats go on smooth and last longer.
Also Read: How Much Does Siding Cost In Minnesota?
#4 Paint The Hardie Board
Now it’s time to paint!
Choose a good brush or roller for detail work and larger surfaces, or go with a sprayer if you want to save time on big areas.
If you spray, make sure to back-roll with a roller so the paint works into the texture of the siding. Work in manageable sections so you’re not racing against drying paint, and always keep a wet edge to avoid streaks or lap marks.
Be patient and focus on even coverage instead of rushing.
#5 Apply Two Thin Coats For Durability
This is one of those steps where patience pays off.
Thick, heavy coats might look like they cover faster, but they tend to crack, peel, or bubble down the road. Instead, lay down a light first coat, let it dry completely, then come back with a second thin coat.
The two layers bond together and form a tougher finish that holds up to weather, sun, and daily wear much better.
It may feel like extra work, but it’s the difference between a job that lasts a couple of years and one that lasts a decade or more.
Also Read: Can You Put New Siding Over Old Wood Siding?
#6 Let It Dry
Don’t rush this part since it’s just as important as applying the paint.
Acrylic paints usually dry to the touch in a few hours, but that doesn’t mean they’re fully cured. It can take days for the paint to harden and form a durable shell.
Check the paint can for the recommended drying and curing times, and give it the space
While it’s drying, avoid leaning things against the siding, moving outdoor furniture too close, or letting sprinklers hit the freshly painted surface.
Once it’s fully cured, you’re set with a finish that looks sharp and lasts.
Bottom Line
You can paint on Hardie Board or Hardie Planks. With the right prep and the right paint, your siding will look fresh, protect your home, and stay sharp for years.
Clean, repair, prime, paint, and be patient – those six steps are all it takes.
Once you’re done, you’ll have a finish that doesn’t just look good but also stands up to the elements like a champ.